|
 |
| The RFZ Ceiling Kit includes two custom
metal brackets, plus four wall anchors and four wood screws so you can attach to any type
of ceiling. Click the image to see it full size. |
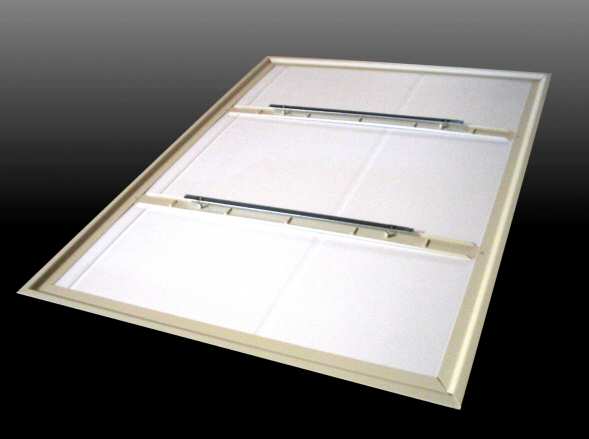 |
| This photo shows how the metal brackets slip
between the back of an RFZ panel and the mounting bars. This photo is for illustration
only! When you actually install it you'll first attach the brackets to the ceiling, then
slide the RFZ panel into place. Click the image to see it full size. |
|
FLUSH
CEILING MOUNTING WITHOUT WIRES The RFZ Ceiling Kit
lets you hang an RFZ Panel securely from the ceiling without the air space you'd normally
have when hanging it with wires. You can also buy the metal pieces to make these yourself
if you prefer. Details are below.
First measure and mark where the four wall anchors or wood screws
will go on the ceiling. The bracket holes are 16 inches apart, and the brackets are placed
16 inches apart from each other. The rear view of an RFZ panel below shows these
dimensions.
This next drawing below shows a side view of an RFZ
panel hanging after the brackets have been attached to the ceiling. Note that the shorter
part of the bracket goes against the ceiling. Once both metal brackets are attached to the
ceiling, push the trap up against the ceiling, then slide it so the metal tucks behind the
RFZ panel's mounting bars, between the bar and the white backing.
|
)
)
)
)
)
)
)
)